
Google Tag Manager Trigger Groups Explained
Google Tag Manager trigger groups allow you to create advanced conditions before your tag will fire. In this guide, you’ll learn how to combine a page timer trigger and a scroll depth trigger into a trigger group that will fire an event for your most engaged readers.
What are Trigger Groups in GTM?
A trigger group allows you to set multiple trigger conditions by combining two or more individual triggers into a single group. Google Tag Manager will not fire your “grouped” trigger until all conditions in the group have been hit.

When Would You Use a Trigger Group?
One common use case for trigger groups is to evaluate when a reader has spent a certain amount of time on a page AND scrolled to a certain point. This is because both of those individual triggers present possible limitations.
Here’s what I mean:
- A 10 minute page timer event will reliably tell you when a visitor has spent 10 minutes on a page. However, it won’t account for the fact that some of these visitors lose interest and leave the page. They can still leave the browser window open so the timer continues to run, but those disengaged visitors are not doing anything with your page.
- A custom scroll tracking event set to fire at 70% scroll depth will reliably tell you when a visitor has scrolled 70% of the way down the page. However, it won’t account for the fact that some of these visitors will be scrolling without actually reading the full article. They might be searching for a specific section or they might just be scrolling to see how long the article is before they commit to reading it.
But if you combine your page timer trigger and your scroll depth trigger, you can create a trigger group that will only fire when a visitor satisfies both conditions.

How to Create a Trigger Group in Tag Manager
We’ll go through these 5 steps.
- Create a page timer trigger in Google Tag Manager to fire at 10 minutes
- Create a scroll depth trigger in Google Tag Manager to fire at 70% (you can customize this too)
- Create a trigger group combining both of the above triggers
- Create a new GA4 Event tag to fire with our new trigger group
- Pair our tag and trigger group and publish all changes in Google Tag Manager
Let’s start with creating our new page timer trigger.
Create a Page Timer Trigger in GTM
Head on over to tagmanager.google.com.
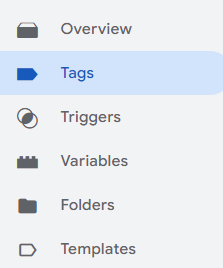
Click “Triggers” from the left-hand navigation.
Then, click “New” to create a new trigger.

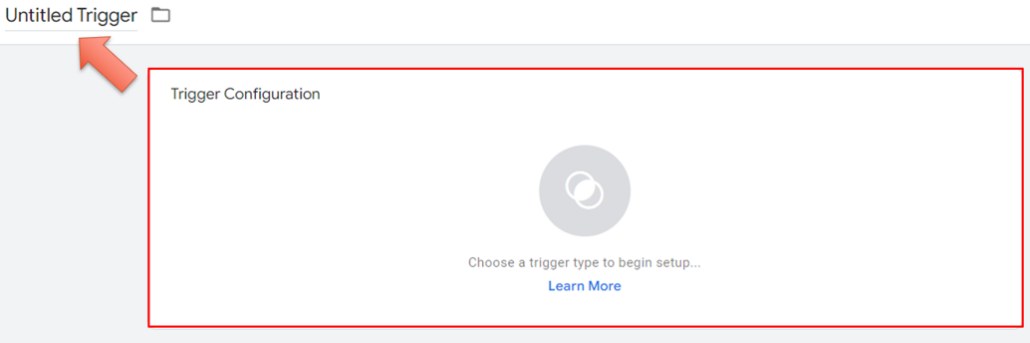
You’ll see a new trigger. You can give it a name for your record keeping in GTM. Do this in the field marked by the red arrow below. A name like “Page Timer Trigger – 10 Minutes” will do just fine. Then, click into the configuration area (red box) to choose your trigger type.
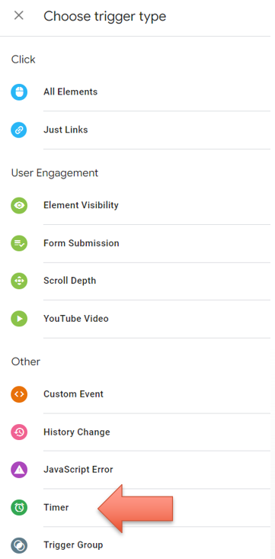
Now, choose your trigger type. Scroll down to the “Timer” trigger type and choose that.
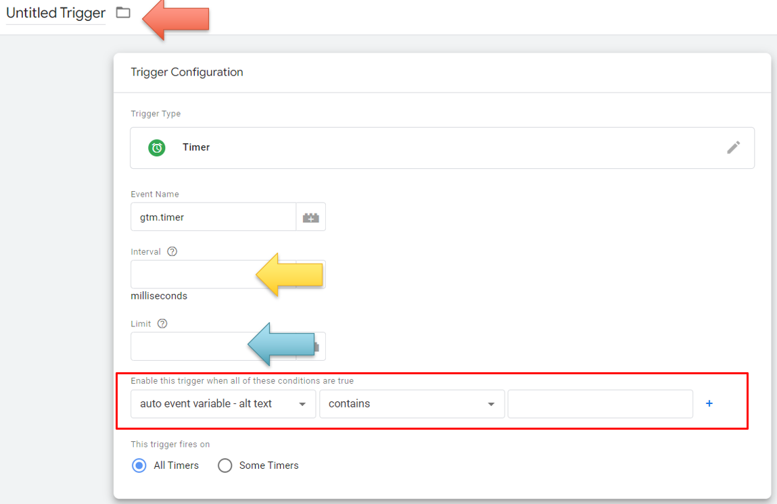
You’ll see a page timer trigger ready to be configured. There are five inputs you can make here:
- If you haven’t already named your trigger, you can do that at the red arrow.
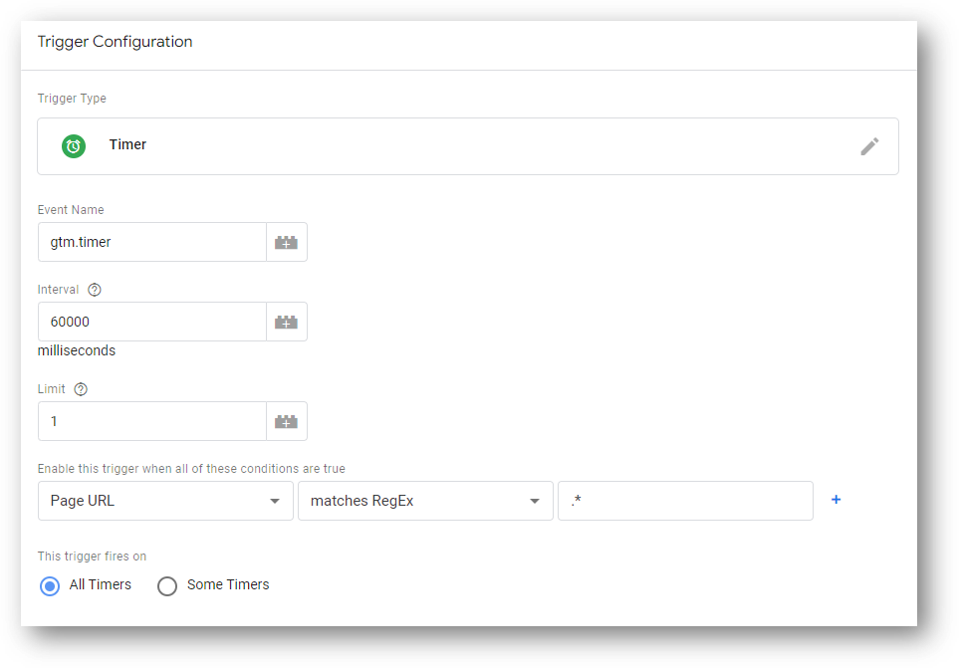
- Your “Interval” is the time in milliseconds for your timer trigger to fire. If you want a 10 minute timer, enter “60,000.” If you want a different timer, calculate milliseconds knowing there are 1000 milliseconds in a second and 60 seconds in a minute.
- Choose a “Limit” for your timer at the blue arrow. We want this to only fire one time, so enter “1” here.
- In the red box, choose your conditions. We want this to fire on all all pages, so set a condition where the “Page URL” includes “/” or matches the regular expression of “.*”.
- Use the radio button at the bottom to keep your trigger firing on “All Timers.”
All done.
Now, let’s create our scroll depth trigger.
Create a Scroll Depth Trigger in GTM
Time to create another trigger as part of our trigger group. Make sure you’re still within the “Triggers” area.
Click “New.”
You can give your trigger a name by typing into the trigger name field by the red arrow. This is for your organization and record keeping within GTM only. It doesn’t affect your data. You could use something like “70% Scroll Trigger” or whatever scroll depth you want to track.
Then, click into the Trigger Configuration area
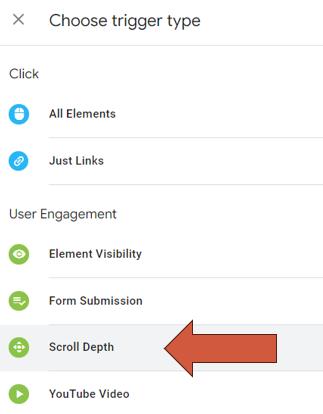
Now, choose your trigger type. Select “Scroll Depth” as shown below.
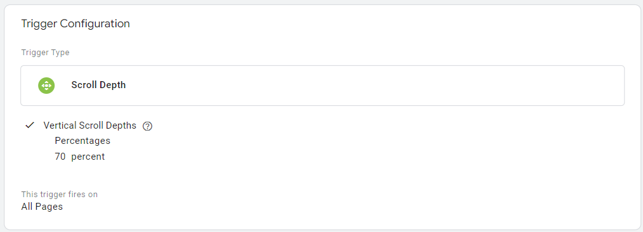
It only takes a few steps to configure your scroll depth trigger.
- Hit the check box for “Vertical Scroll Depths” as shown.
- Manually type in your percentage that you want to track. I’ve used 70 below, for 70%.
- Use the radio button in the final field to set your trigger to fire on all pages. Note: if you want to only have your tracking for a certain subset of pages, you can choose “Some Pages” and then select accordingly.
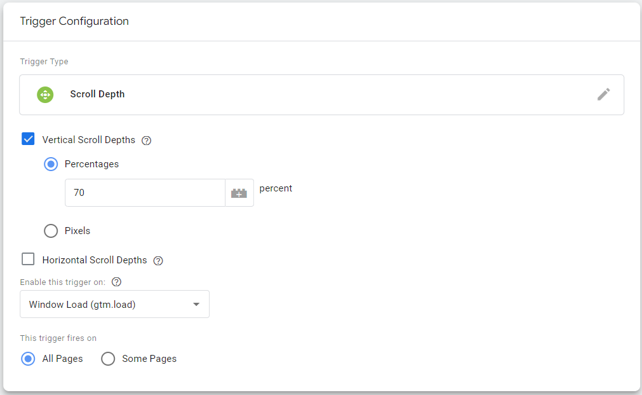
Here’s your configured scroll depth trigger.
Now it’s time to combine your page timer and scroll depth triggers into a single trigger group.
Create Your Trigger Group
Click “New” within the Triggers area to create one final trigger.

Give it a name that you will understand by typing in the field by the red arrow. Something like “Trigger Group: 10 Min + 70% Scroll” would work just fine. Then, click into the trigger configuration area.
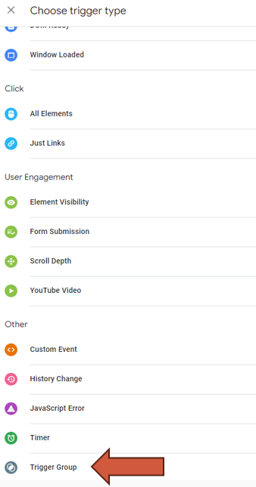
Choose the final trigger type from the list: “Trigger Group.”
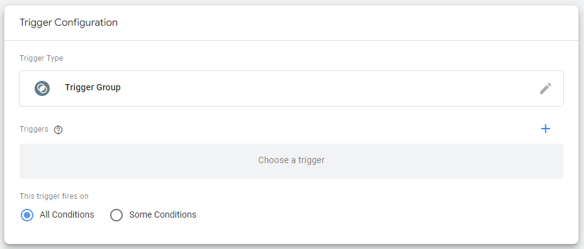
You configure your trigger group by selecting the triggers you want to include. Click either into the gray bar that says “Choose a trigger” or click the small blue “+” sign that you see towards the right. You’ll see a list of available triggers, including the two you just built.
Select those two triggers that you just configured. Like this.
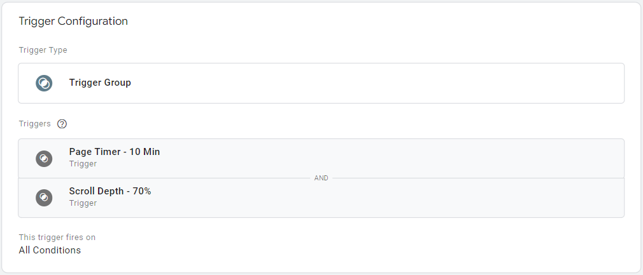
Click Save

Boom! You now have a trigger group. It’s time to create a GA4 Event tag that will send data to your GA4 property.
Create a GA4 Event Tag
Click “Tags” from the left-hand navigation.
Then, click to create a “New” tag.
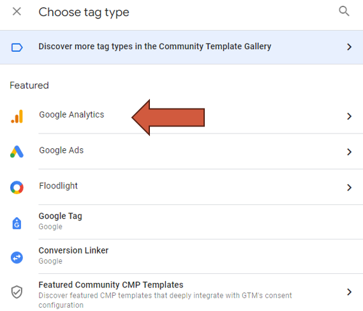
Choose “Google Analytics” as your tag type.
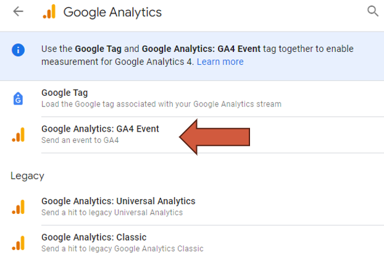
And, then click “Google Analytics: GA4 Event” to create your GA4 event tag.
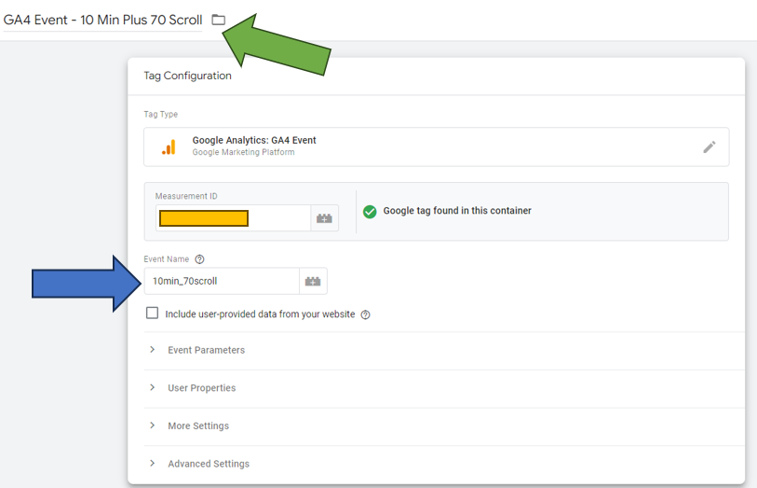
You’ll see a blank tag configuration that needs the following:
- A name for internal GTM organization
- Your GA4 Measurement ID which associates your tag data with your GA4 event property
- An event name which is what will show in your GA4 reports when your tag fires
- A trigger on which to fire and collect data
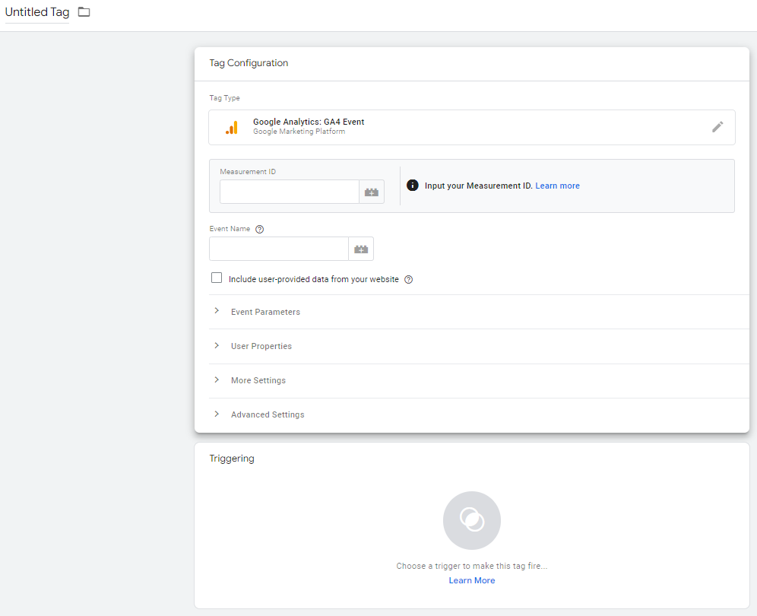
Here’s how you can fill out the first three of those:
- By the green arrow give your tag a name. You can use something descriptive like “GA4 Event – 10 Min Plus 70 Scroll”
- Find your GA4 Measurement ID from your Google Analytics 4 property in your admin settings. Paste it in the yellow area.
- Give your event a name using the snake case naming convention (lowercase and underscores in place of spaces).
Note: If you are setting event parameters, you can do that below the event name.
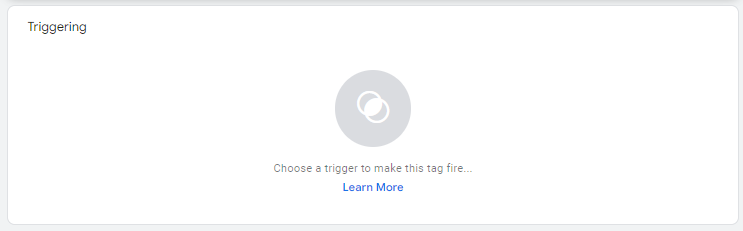
Then, click into the “Triggering” area below the tag. You’ve already created your trigger so all you need to do is choose it from the list that will appear.
So choose your new trigger group from the list.
Your GA4 event tag is good to go.
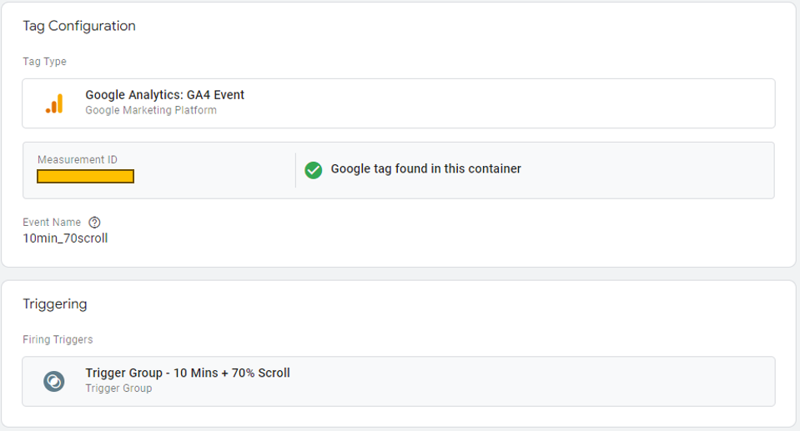
Click “Save” and you’re done.
Save and Publish Your Container
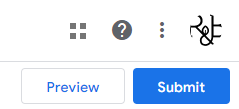
You need to submit and publish your container to make your new tag and trigger group go live.
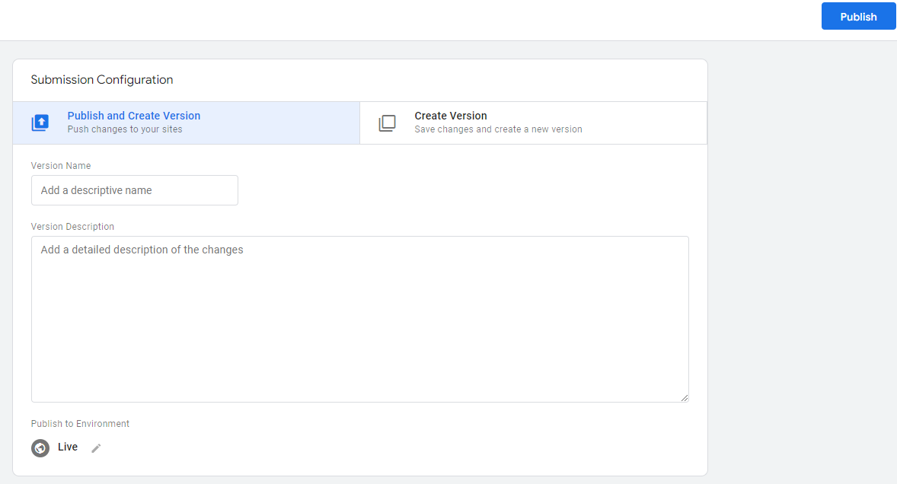
Click “Submit” from the upper right corner in Tag Manager.
Then, click “Publish” to make it go live. You can add a version name and description if you like, but that’s not necessary.
Congratulations! You’ve made it.
Wrapping Up
That was a journey. Thanks for sticking with it until the end. From here, here are two resources that I think might make the most sense to check out next.
- This guide to Google Analytics reporting with Explorations will help you choose dimensions and metrics so you can analyze your new trigger group data.
- And since you’re an analytics fan, you really might interested in learning about Microsoft Clarity and how it compares to Google Analytics.
About Root & Branch
You can learn more about Root & Branch here.
")


Trackbacks & Pingbacks
[…] How to combine multiple triggers in a GTM trigger group […]
[…] – send event data into GA4. You can create more sophisticated conditions using things like trigger groups by using GTM, but you don’t always need that level of detail. In those simpler cases, you can […]
Leave a Reply
Want to join the discussion?Feel free to contribute!