
MailChimp Pop Up Forms: 5 Step Set Up With Pictures
MailChimp pop up forms are a great tool for growing your email list. Here’s how to set them up.
And then we entereed more words
How Do I Create a Pop Up Form in MailChimp?
There are 5 things to do:
- Log in to MailChimp and access the Pop-up form builder
- Create your Pop-up with Style, Layout, and Settings feature
- Add new fields to your Pop-up if necessary
- Change the header image if necessary
- Connect the Pop-up to your website
Read on below.
Access the Pop-Up Form Builder in MailChimp
Let’s build your MailChimp pop up form. First, log in to MailChimp.
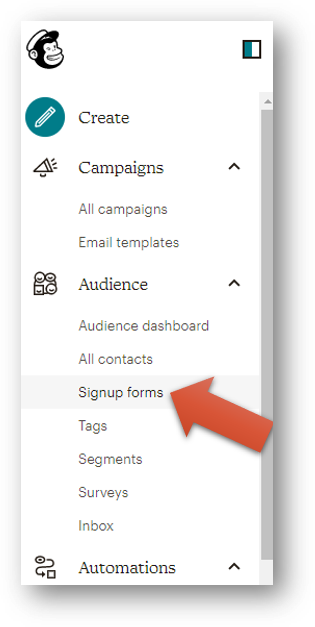
Then, access “Signup Forms” within the Audience section of the left-hand navigation. Like this.
Now, select “Subscriber Popup”.
Create Your Pop Up With Style, Layout, and Settings Features
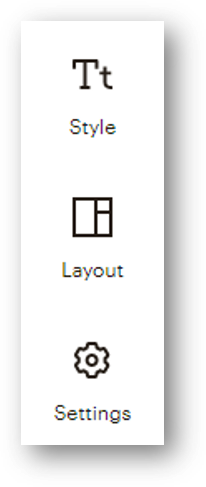
You can customize your MailChimp pop up with the following three features: style, layout, and settings.
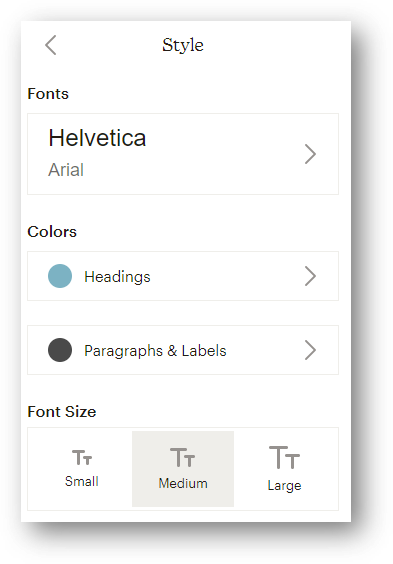
Let’s start with “style”. You can choose your font and your font size. You can also choose the colors of your Headings and your Paragraphs & Labels.
Like this.
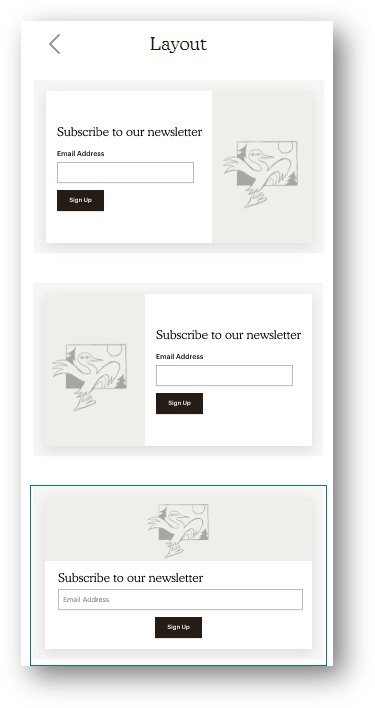
Now, choose from one of three options for your layout. You can have a pop up with an image on the right, a pop up with an image on the right, or a pop up with an image above the sign up field. I chose the third option for mine, but do whatever feels right, you’re an independent thinker.
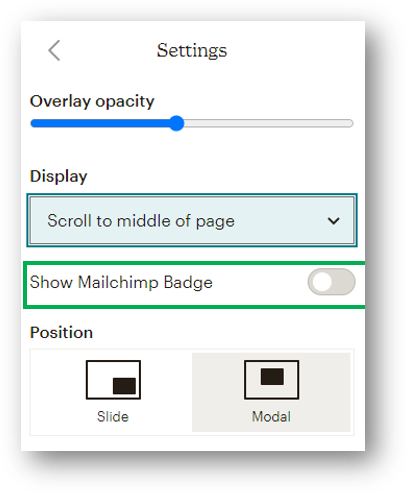
Choose your settings. You can determine the opacity of your pop up and when it will actually display. I want my pop up to display when a reader scrolls to the middle of the page, so you can see that I’ve made that decision here.
You can also choose whether the pop up shows in the bottom right hand corner of your page or in the middle. Lastly, you can turn off the MailChimp Badge if you have a paid version.
Add New Fields to Your Pop Up if Necessary
You’ll need to add new fields if you want to collect more information than just an email address.
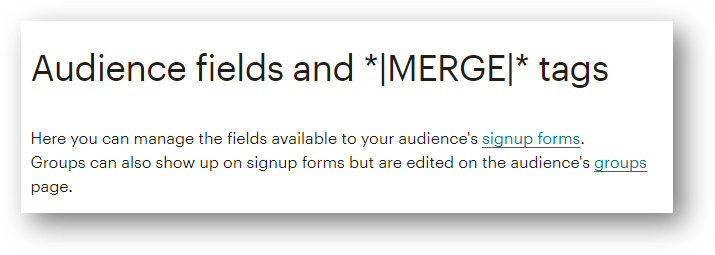
Go to “Settings” and then select “Audience fields and *|MERGE|* tags”.
Like this.

I wanted to add a field for first name. but you can add other fields as well.
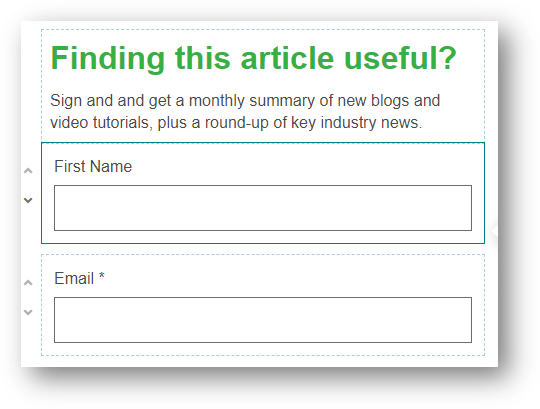
Here’s mine after I added the First Name field. You can use the small arrows at the extreme left of the image below to adjust the order of your fields in your pop up form.
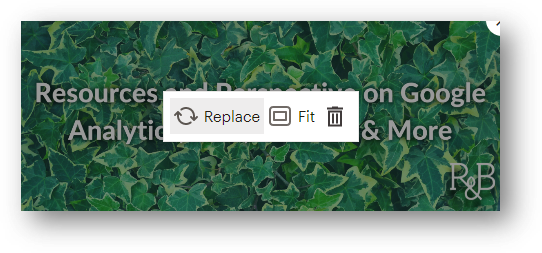
Change the Header Image of Your Pop Up Form if Necessary
You may want to use a custom header image for your pop up form. I did.
Just like into the header and then click “Replace”. You’ll be able to upload a new image to use for your header.
Here’s what the pop up form looked like for the Root and Branch newsletter after making all of these changes.

By the way, if you’re interested in a free monthly newsletter with more resources like this, you can sign up here. When you sign up, you get a bonus of our 10 best training resources.
Connect the Pop Up to Your Website
Now, it’s time to get your pop up live on your site. Click “Save & Publish” to finish your form and get the code.

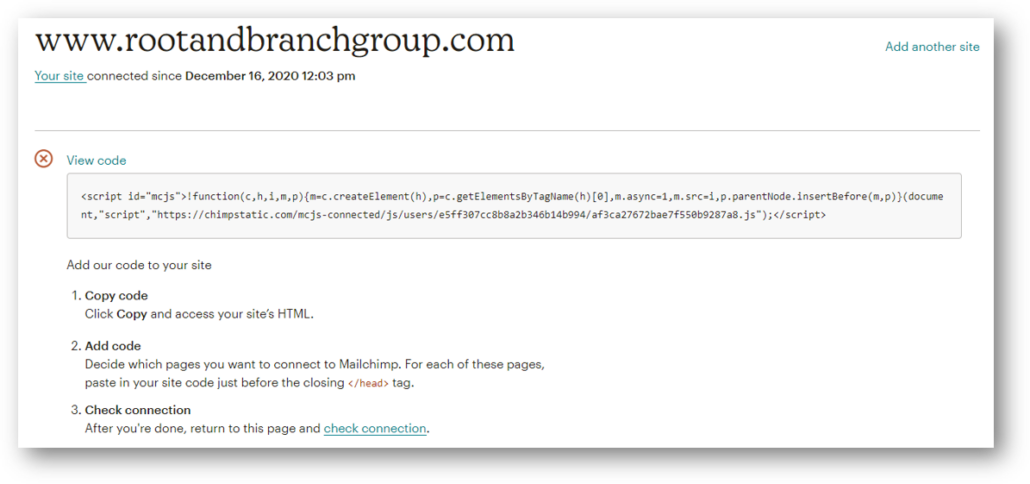
You can now see the code to get your MailChimp pop up form live on your site. Click into the code to copy it.
Note: If you ever lose track of the code, you can find it in the Integrations (Integrations -> Manage Integrations) section of MailChimp.
Head over to your site. Depending on what kind of site you have, you may choose to hard code the snippet into your backend. If you use WordPress, a plugin like Header Footer Code Manager will work great to get it on your site. That’s what I’ve used below.
Check it out, along with the codes I’ve used to set up Google Tag Manager and the Facebook domain verification.
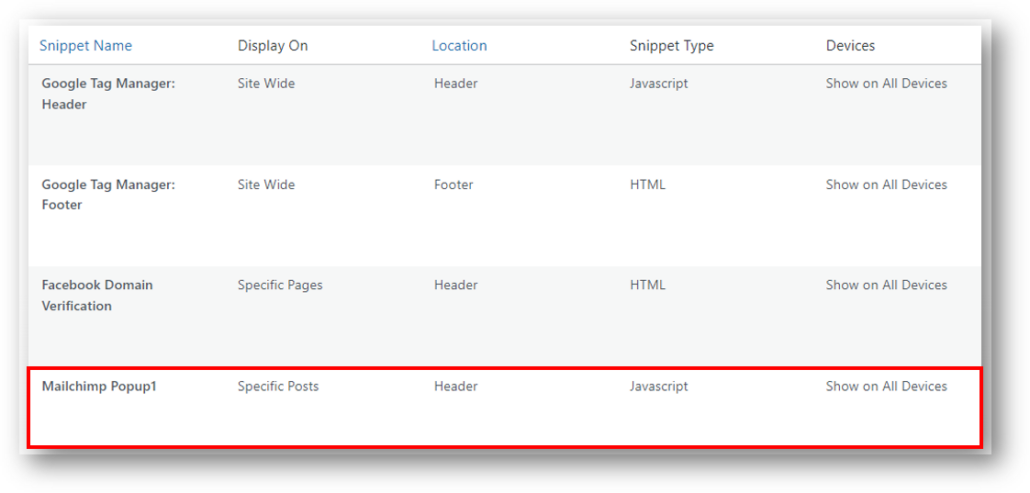
This is the snippet for the MailChimp pop up.

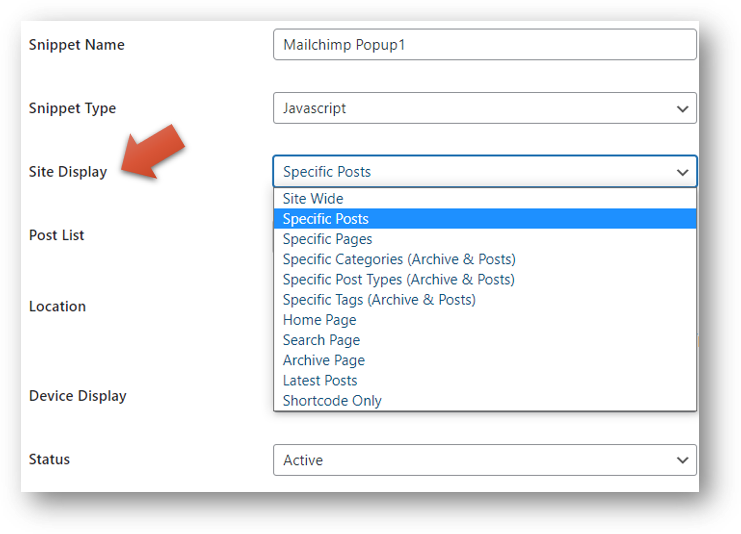
This plugin has a nice feature where you can choose which pages display the pop up. As you can see below, you can choose from options like the entire site or specific posts or pages.
All Done!
Congratulations! You should now be collecting email address through your MailChimp Pop Up.
If you’re still reading this guide, thanks for sticking with me. Based on your interest in this article, here are 3 things you also might find helpful or otherwise interesting.
- The new Google Analytics has problems. But there are things you can do about them to make the platform easier to understand use. Check out the previously linked guide to vent frustrations and (hopefully!) find some relief.
- Did you know that Microsoft has a free analytics tool called Clarity that works well in partnership with Google Analytics? It’s true. Check out the full Clarity guide or the much shorter Clarity vs. Google Analytics comparison.
- The Root and Branch YouTube channel has new digital marketing training guides and tutorials every week or so. If you’re into this kind of stuff, consider checking it out at https://youtube.com/@rooted-digital.
Thanks! And have a wonderful rest of your day out there.


Leave a Reply
Want to join the discussion?Feel free to contribute!